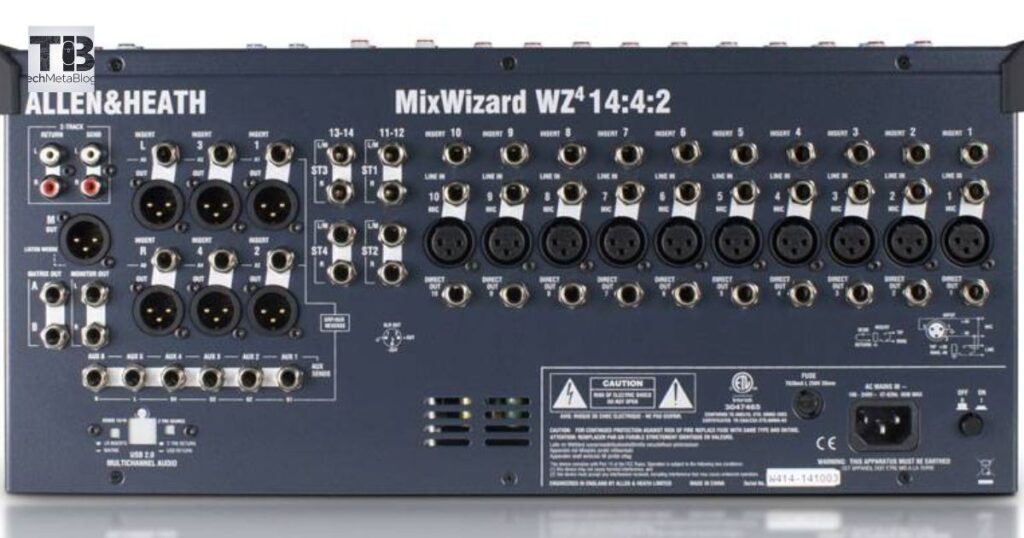
The Peavey PV14 audio mixer is a versatile and robust solution for anyone looking to enhance their audio mixing experience, whether it’s for live sound reinforcement, recording, or streaming.
With its user-friendly features and USB connectivity for audio mixing, the Peavey PV14 offers a great entry point for both beginners and seasoned professionals.
This guide will walk you through every step of setting up the Peavey PV14 with a computer, configuring it with a Digital Audio Workstation (DAW), troubleshooting common issues, and optimizing your audio quality.
If you’re someone who enjoys recording music, live streaming, or hosting podcasts, you might have encountered the Peavey PV14 mixer as a go-to tool for achieving high-quality sound. Thanks to its intuitive design and advanced features, setting up the Peavey PV14 with a computer can drastically enhance your audio performance.
Whether you’re streaming live or recording music, understanding how to set up and configure the Peavey PV14 for live streaming or recording is crucial. In this guide, we’ll break down everything you need to know about Peavey PV14 audio mixer setup, and how to ensure your audio quality is nothing short of professional.
Key Features of the Peavey PV14 Mixer
The Peavey PV14 mixer is packed with features that make it an excellent choice for both beginners and experienced users. Let’s take a closer look at its main features:
14 Channels:
The PV14 offers 14 channels, which include four mic preamps and three stereo inputs. This versatility allows you to connect a wide variety of audio sources, from microphones to instruments, giving you more control over your sound.
USB Connectivity for Audio Mixing:
One of the standout features of the PV14 is its USB connectivity for audio mixing. This allows you to connect the mixer directly to your computer for recording or live streaming, simplifying the setup process.
Built-In Effects:
The PV14 includes effects like reverb and delay, which you can apply to your mix to enhance your sound. These built-in effects are an excellent tool for live performances or adding a professional touch to your recordings.
3-Band EQ per Channel:
Each channel on the mixer has its own 3-band EQ (low, mid, high), giving you the flexibility to shape your sound precisely as you want it.
Phantom Power:
If you’re using condenser microphones, the PV14 provides phantom power on the XLR inputs, making it easy to connect high-quality mics without needing an additional power source.
Monitor Outputs:
The PV14 comes with monitor outputs, enabling you to listen to your mix in real-time. This is essential for monitoring your performance while recording or live streaming.
Durable Design:
Peavey has designed the PV14 to be a durable, road-worthy piece of equipment that can stand up to the demands of both live sound and studio use.
Setting Up the Peavey PV14 with a Computer

Getting started with the Peavey PV14 audio mixer setup is relatively simple, but there are a few key steps to ensure you connect everything properly. Let’s break it down step by step.
Step 1: Gather Your Equipment
Before you dive into the setup, make sure you have all the necessary equipment:
- Peavey PV14 mixer
- Computer (Windows or macOS)
- DAW software (e.g., Audacity, Pro Tools, FL Studio, etc.)
- USB Cable (Type A to Type B)
- Microphones, instruments, or audio sources
- Headphones or speakers for monitoring
Having everything ready will make the setup process smooth and efficient.
Step 2: Connect the Mixer to Your Computer
The next step is to connect the Peavey PV14 mixer to your computer. This is done via the USB port:
- Power on the mixer.
- Connect the USB cable from the mixer’s Type B USB port to your computer’s USB port (typically a Type A port).
- Once connected, the computer should automatically detect the mixer, but you may need to install the necessary drivers. Visit the Peavey website to download the latest drivers for your system.
This connection allows the mixer to communicate with your computer, enabling it to serve as both an audio input and output device for your recordings or live streams.
Step 3: Configure Your Digital Audio Workstation (DAW)
Now that your mixer is connected, it’s time to set up your DAW software to work with the Peavey PV14 mixer:
- Open your DAW (like Audacity, Pro Tools, or any other software you use).
- Go to the audio settings of your DAW and select the Peavey PV14 as your audio input and output device.
- Make sure to create corresponding audio tracks in your DAW for each of the mixer’s channels that you plan to use.
By integrating the Peavey PV14 and digital audio workstation, your DAW will recognize the mixer’s inputs and outputs, allowing you to record or live stream with ease.
Step 4: Connect Microphones and Instruments
Next, you’ll need to connect your audio sources to the Peavey PV14. The mixer has multiple input options:
- XLR inputs on channels 1–4 are ideal for microphones.
- Line inputs are perfect for instruments or other audio sources.
Once connected, adjust the input levels using the gain knobs on the mixer to ensure you’re getting clean, undistorted sound. Remember, proper gain staging is essential to avoid clipping or poor audio quality.
Step 5: Monitor Your Audio
To ensure your audio is coming through clearly, you’ll want to set up monitoring. This allows you to hear what you’re recording or streaming in real-time:
- Connect headphones or speakers to the monitor outputs on the mixer.
- Adjust the faders and gain controls to get a balanced sound.
- Make sure to monitor your audio levels regularly to avoid distortion and ensure everything sounds just right.
Step 6: Start Recording or Streaming
Once everything is connected and configured, you’re ready to start recording or streaming:
- Hit record in your DAW or start your live streaming software.
- Test the audio to ensure all the connections are working and the sound is optimal.
- If necessary, make final adjustments to your input levels, EQ, or effects on the mixer to enhance the sound.
Troubleshooting Common Issues
Even with the best equipment, issues can arise. Here are a few common problems you might encounter when setting up the Peavey PV14 with a computer and how to troubleshoot them:
1. No Sound
- Double-check that the mixer is powered on.
- Ensure that the correct audio input/output device is selected in your DAW.
- Check the mixer’s gain knobs and faders to make sure they are properly adjusted.
2. Distorted Audio
- If the sound is distorted, try lowering the gain on the mixer.
- Check the USB cable connection to ensure it’s not loose or damaged.
3. Latency Issues
- Latency is a common problem with USB audio interfaces. To reduce latency, try lowering the buffer size in your DAW’s audio settings.
- You can also enable direct monitoring through the mixer, which will allow you to hear yourself in real-time without latency.
4. Microphone Not Detected
- Make sure the microphone is plugged into the correct XLR input on the mixer.
- If you’re using a condenser mic, ensure that phantom power is enabled on the mixer.
Tips for Optimizing Your Peavey PV14 Setup

Once you’ve got everything set up, here are a few tips to get the best possible audio performance:
- Adjusting EQ: Use the 3-band EQ per channel to tailor your sound. Cut unnecessary frequencies to avoid muddiness and boost mids and highs for clarity.
- Utilizing Built-In Effects: Apply effects like reverb and delay for a richer, more dynamic sound.
- Monitor Regularly: Keep an ear on your audio levels throughout your recording or streaming session to ensure nothing is peaking or distorted.
- Keep Your Drivers Updated: Ensure that the latest drivers from Peavey are installed to avoid compatibility issues with your computer.
Conclusion
The Peavey PV14 mixer is a powerful tool that can significantly enhance your recording, mixing, or live streaming experience. By following this step-by-step guide, you should have no trouble setting up the Peavey PV14 with a computer and integrating it with your DAW for a smooth, professional audio production. Don’t forget to troubleshoot any issues that arise and optimize your setup for the best sound possible.
FAQs
What type of computer setup is compatible with the Peavey PV14 mixer?
The Peavey PV14 mixer is compatible with both Windows and macOS systems. It connects to computers via a USB cable, allowing it to serve as an audio input and output device for recording or live streaming.
Do I need additional software to use the Peavey PV14 with my computer?
Yes, you will need a Digital Audio Workstation (DAW) like Audacity, Pro Tools, or FL Studio. This software allows you to record, mix, and edit audio from the Peavey PV14.
Can I use condenser microphones with the Peavey PV14 mixer?
Absolutely! The Peavey PV14 offers phantom power on its XLR inputs, which makes it compatible with condenser microphones that require external power.
How do I resolve latency issues when using the Peavey PV14 with my DAW?
To reduce latency, adjust the buffer size in your DAW’s audio settings. Enabling direct monitoring on the mixer can also help you hear audio in real-time without latency.
What should I do if there’s no sound coming from the mixer to my computer?
First, ensure the mixer is powered on and properly connected to the computer. Check that the Peavey PV14 is selected as the input/output device in your DAW settings, and adjust the gain knobs and faders to the appropriate levels.


